XONE 43C
Setup
STEP 1 : CONNECTIONS
- Connect amplifier or amplified speakers to the rear-panel Outputs of the device.
- Connect your Headphones to the top panel socket using a 1/4" cable or adapter.
- Connect the Allen & Heath Xone:43C to a USB port of your computer via the rear-panel USB socket, using a USB cable.
- Optionally connect your DVS (Timecode Vinyl or CD) to the rear panel Inputs PHONO or LINE. See Advanced Setup - DVS
- When the above connections are done, connect the Allen & Heath Xone:43C to AC and power on.
Additionally , you can connect a Xone K2 to the Xone:43C via the XLINK socket using the provided cable. See Advanced Setup.
STEP 2 : DRIVERS
Mac OS : XONE:43C supports Apple’s Core Audio/Core MIDI framework, so you do not need to install Device Drivers for use with macOS platforms.
Windows : Download and install the Xone 43C PC driver and Device software (firmware) from https://www.allen-heath.com/ahproducts/xone43c/.
STEP 3 : VirtualDJ 8 Setup
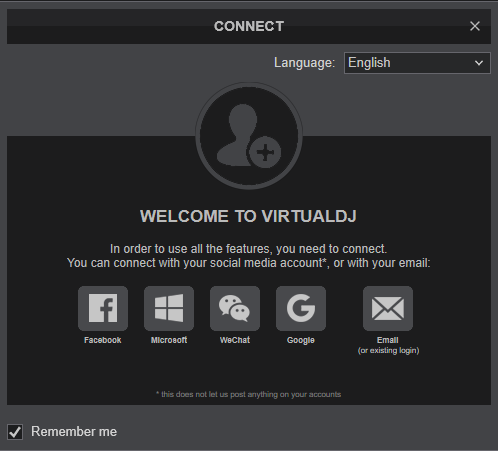
Once VirtualDJ is launched, a Connect window will appear to enter your virtualdj.com account credentials.
A Pro Infinity or a Pro Subscription License is required to fully use the Xone 43C. Without any of the above Licenses, the device will operate for 10 minutes each time you restart VirtualDJ.
https://www.virtualdj.com/buy/index.html

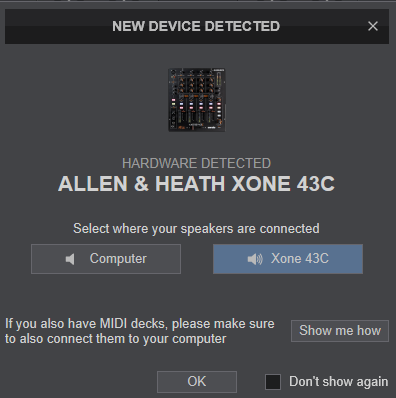
Click on the "XONE 43C" if your speakers are connected to the Main Output at the rear side of the device.
You can still make changes in the Audio setup from VirtualDJ Settings->AUDIO tab.
Press OK.

The unit is now ready to operate.


