


PMX20
Setup
STEP 1 : CONNECTIONS
- Connect your amplifier of a pair of amplified speakers to one of the XLR/RCA Master Outputs at the rear panel.
- Connect the USB socket at the rear panel of the PMX20 to a USB port of your computer, using standard USB cable
- Optionally connect your CD Players/Turntables or any other analogue source to the CH1 to CH4 Input sockets at the rear panel
- Connect the PMX20 to an AC Plug and power on the unit, after all connections are made.
STEP 2 : DRIVERS & FIRMWARE
Drivers :
For Windows computers, download and install the Gemini ASIO drivers from https://geminisound.com/pages/downloads
No drivers is required to be installed for Mac OSX computers.
Firmware : Make sure your unit is updated to the latest firmware from https://geminisound.com/pages/downloads
STEP 3 : VirtualDJ Setup
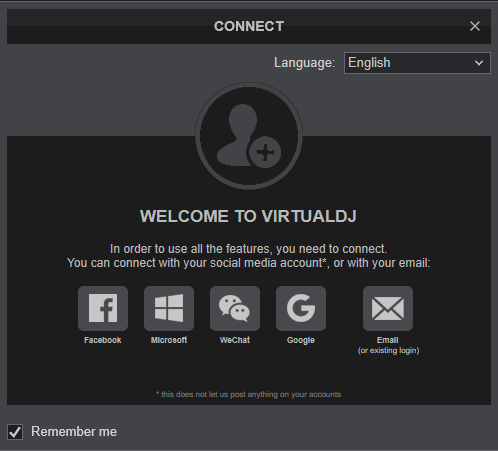
Once VirtualDJ is opened, a Connect Window will appear to enter your account credentials.
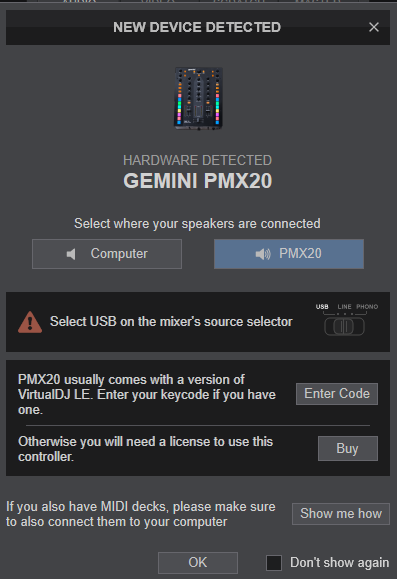
A Pro Infinity or a Pro Subscription License is required to fully use the Gemini PMX20. Without any of the above Licenses, the controller will operate for 10 minutes each time you restart VirtualDJ.
https://virtualdj.com/buy/
The Gemini PMX20 is also operating with the bundled VirtualDJ Limited Edition., which also allows DVS (see Advanced Setup)
Click on the "PMX20" button if your speakers are connected to the Master Output at the rear panel of the PMX20.
You can still make changes in the Audio setup from VirtualDJ Settings->AUDIO tab.
An additional Enter code button will be available, if your Account does not offer a Pro or Plus License or you have skipped the Login process.
Click on this button and enter the Keycode (serial) of your VirtualDJ LE.
On the PMX20, use the MIDI/USB buttons on each channel to enable the Midi operation.
Make your selections and press OK.
The unit is now ready to operate.