


Kontrol Z2
Installazione
Firmware & Drivers
Firmware: Update the firmware of the unit to the latest version from Native Instruments
Drivers: Install the latest drivers from Native Instruments
Controller Editor: Download and install the latest version of Native Instrument’s controller editor software from Native Instruments
Attention: Controller Editor must be installed on your system for the unit to be able to operate as a MIDI/HID controller.
Important notice: While it’s not required, you may also want to load a special Controller Editor profile on your system in order to optimize the visual feedback of the unit’s leds. For more information please visit the following link: Kontrol Z2 CE Template for VirtualDj
VirtualDJ 8 Setup
(in case you have not done already)
Once VirtualDJ 8 is launched, a Login Window will appear. Login with your virtualdj.com account credentials. A Pro Infinity or a Pro Subscription License is required to fully use the Kontrol Z2.
Without any of the above Licenses, the controller will operate for 10 minutes each time you restart VirtualDJ.
Buy a license
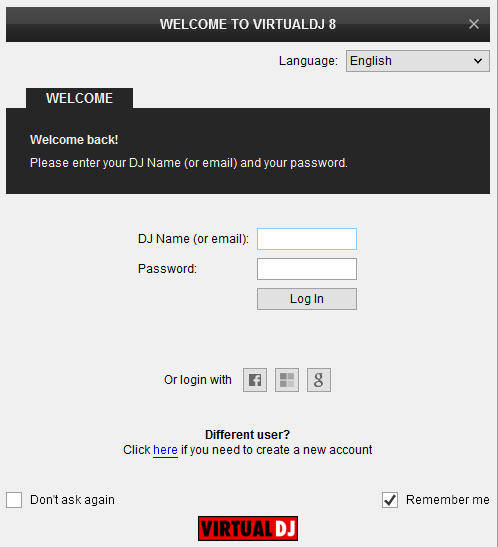
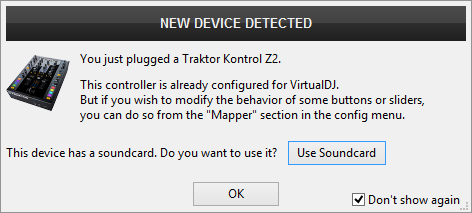
Click to OK.
Advanced Setup
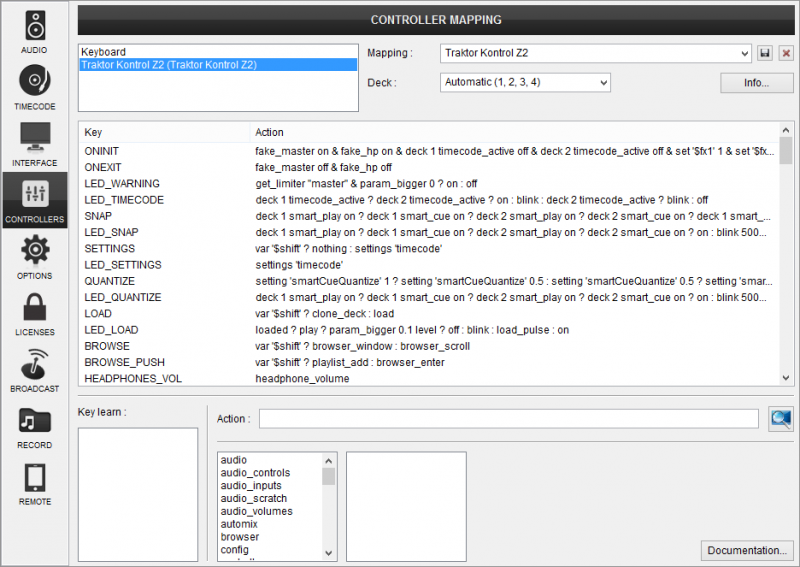
The unit should be visible in the CONTROLLERS tab of Config and the “factory default” available/selected from the Mappings drop-down list. The factory default Mapping offers the functions described in this Manual, however those can be adjusted to your needs via VDJ Script actions.
Find more details at
VDJ Pedia
The unit has a pre-defined Audio setup and a special button in the AUDIO tab of Config to provide that. Alternative Audio setups can be applied in the same window.
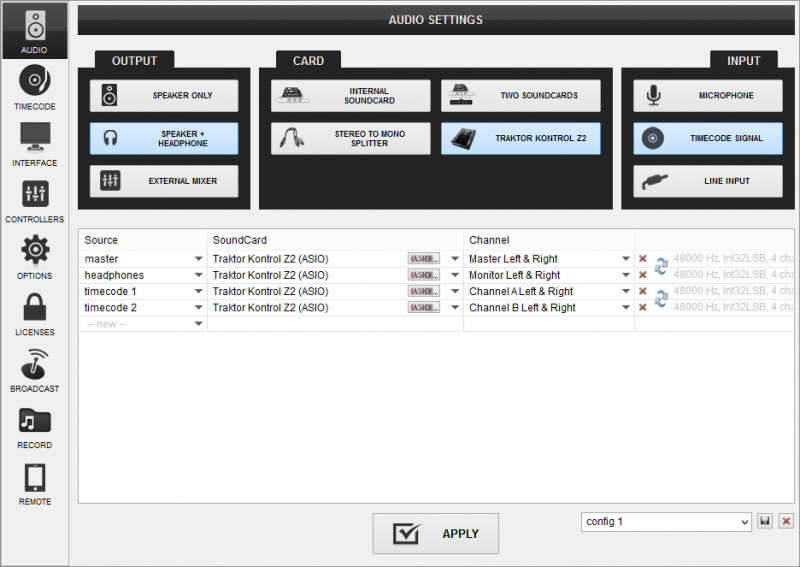
For further software settings please refer to the Manuals of VirtualDJ 8.