DJM-900NXS2
Setup
Connections

- Connect your computer to USB port A or B at the left-top panel of Pioneer DJM-900NXS2
- Set the SOURCE selectors at the top panel for all Mixer Channels to the Computer position A or B depending on the port you have used to connect with your computer.
- Connect your amplifier/speakers to the Master Out sockets at the rear panel.
- Connect the Pioneer DJM-900NXS2 with AC power using the provided cable and power on the unit
Firmware & Drivers
For both Windows and Mac OSX computers :
Install the latest firmware from https://www.pioneerdj.com/en/support/software/mixer/djm-900nxs2/#firmware-update
Install the latest drivers from https://www.pioneerdj.com/en/support/software/mixer/djm-900nxs2/#drivers
VirtualDJ 8 Setup
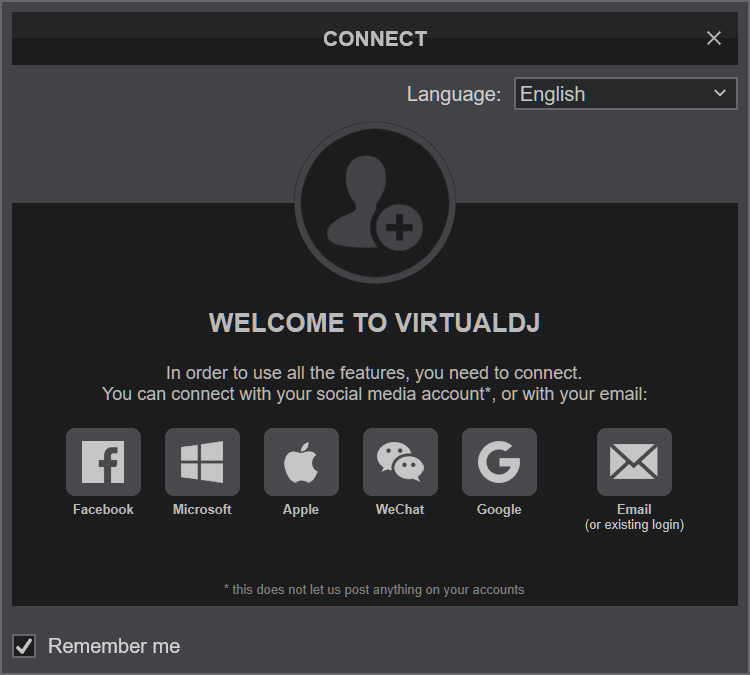
Once VirtualDJ is opened, a Login Window will appear. Login with your account credentials.
A Pro Infinity or a Pro Subscription License is required to use the Pioneer DJM-900NXS2. Without any of the above Licenses, the mixer will operate for 10 minutes each time you restart VirtualDJ.
http://www.virtualdj.com/buy/index.html

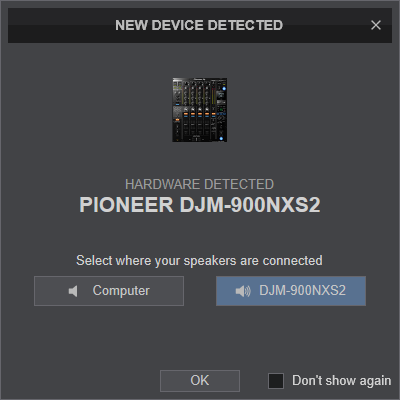
Click on the “DJM-900NXS2” button and VirtualDJ will automatically create and apply the default audio configuration using the built-in audio interface of the Pioneer DJM-900NXS2
Click to OK.

The device is now ready to operate with VirtualDJ.
MIDI Operation
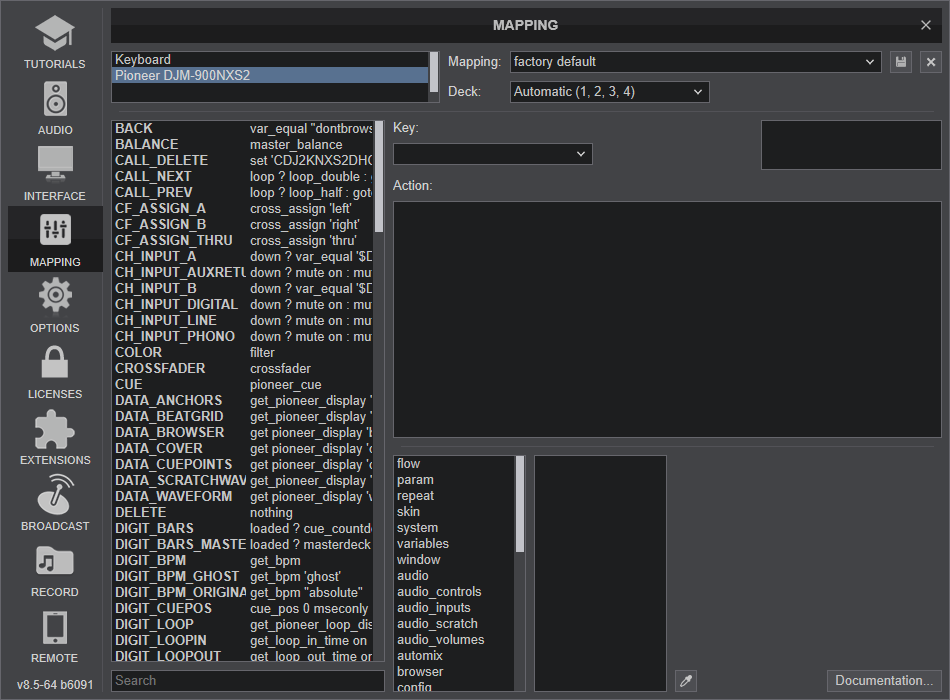
The device should be visible in the MAPPING tab of Config and the “factory default” available/selected from the Mappings drop-down list.

Note, that nearly all buttons, knobs and faders of the DJM-900NXS2 offer hardware/firmware/internal functionality, thus it is highly recommenced not to change the assigned actions, as the hardware functionality will still apply. Some of the device's keys are pre-mapped to "fake" mode actions, just as a mixing aid (show status on the GUI).
AUDIO Setup
The unit has a pre-defined Audio setup and a special button in the AUDIO tab of Config to provide that. Alternative setups can be applied in the same window. See Advanced Setup

For further software settings please refer to the User Guide of VirtualDJ.
http://www.virtualdj.com/manuals/virtualdj/index.html


